Published on June 30, 2024
Starting of chicks: reception and litter
The starting of chicks is probably the most important stage for the success of the production period. It involves acclimatising the chicks to their living space. In this article, we will analyze the first steps that are essential to ensure a successful starting of the chicks. Firstly, we will describe the protocol to be followed for the correct reception of chicks, and then we will analyze the different stages of starting, i.e. setting up the starting area, and more specifically the litter.
Reception of the chicks
The following protocol may be applied for any reception of SASSO chicks:
- When the date and time of delivery is confirmed, the rules applying to the site should be notified to the SASSO Sales Department. The Sales Department will be responsible for supplying them to the driver who will carry out the delivery.
- On delivery, remind the driver of these rules. Even though our drivers are trained in delivery biosecurity rules, they will apply the particular measures that you ask them to. In no circumstances should the driver enter the building, even to help the teams to unload.
- Position the truck so that the chicks remaining in boxes are protected from draughts.
- Indicate your sampling protocol to the driver should need to perform them. Make sure the samples are taken in the truck and not on the unloading area.
- Carry out unloading as quickly as possible by aligning the box at a sufficient distance from radiant heaters so as not to overheat the chicks.
- Control the quantity and quality delivered (general condition of the chicks, specific appearance of the fluff, mortality, etc.).
- Notify any irregularity on the delivery note as no observation can be made after the driver has left.
- Sign the delivery note.
- Carry out individual weighing for a sample of the chicks (1% for hens and 10% for roosters). To do this, one or two boxes of chicks are taken and all the animals are weighed without exception.
- Record these weights on the rearing form and calculate the uniformity of the batch to approximately 10%. The uniformity must be recalculated seven days later. If the uniformity has deteriorated, the causes of this must be identified (heating, water, feed, etc.). A weighing grid is available in the appendix to facilitate the calculation.
- Remove the chicks from the boxes and place them in the starting zone, under the radiant heaters and close to the drinkers.
Starting of chicks
There are many rearing systems and the SASSO strains can adapt to most of them on condition that the farmer is attentive to their essential needs (water, food, natural behaviour, satisfactory ambience conditions, etc.).
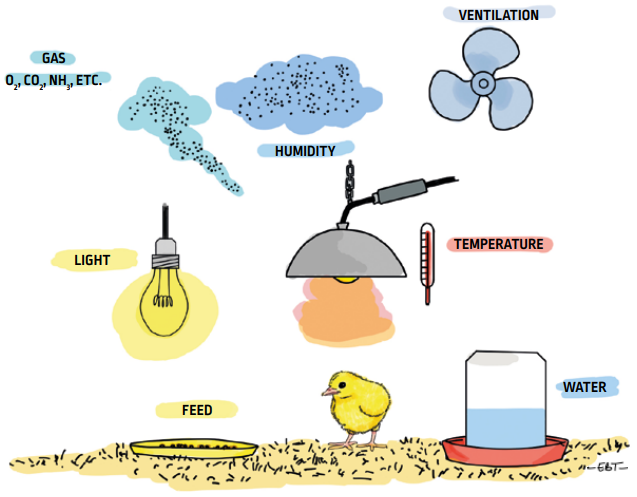
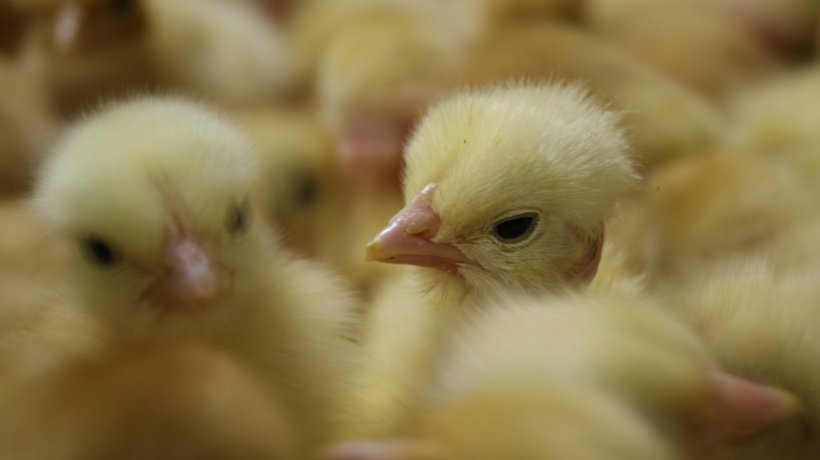
Figure 59: The well-being and development of a chick depends on many parameters that need to be accurately assessed.
So as not to miss any step we will detail, for each important parameter, the procedure to follow and the errors to avoid. Each parameter must be prepared before the chicks are received.
The starting zone
It is important to determine precisely which zone will receive the chicks. In most cases starting takes place in one section or in the whole rearing barn. The zone must be able to provide the chick with everything it needs.
So that the chick quickly finds the sources of heat, drink and feed, it is preferable for this space to be restricted as a pen.
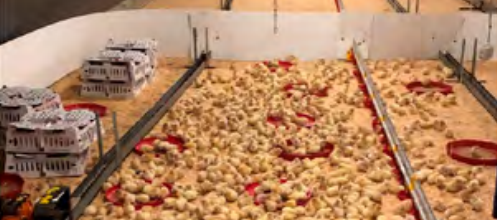
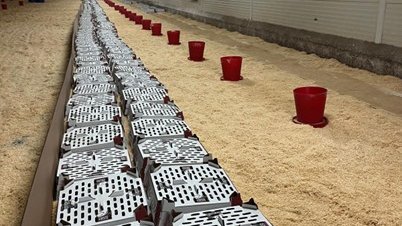
Figure 60: Here an area of the building has been marked out for start-up.
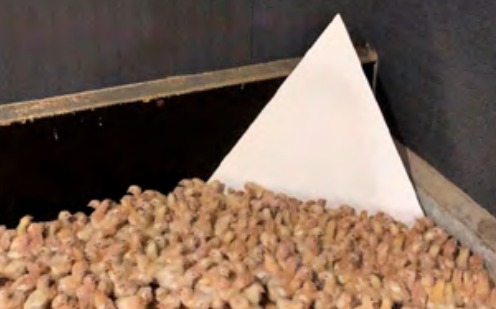
Figure 62: It is important not to allow access to the corners, so that if they are grouped together, the risks of suffocation and isolation are minimised.
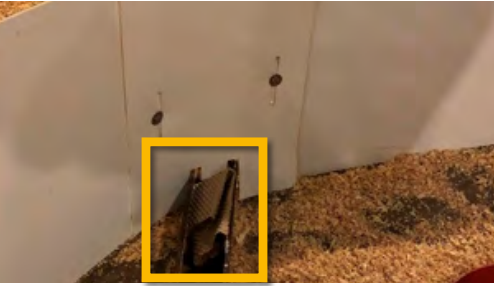
Figure 64: The custom-made walls make the pen impassable (here, the paper prevents the pen from exiting through the feed chains).
It will be necessary to enlarge it progressively after several days when the chicks are totally independent.
A chick will explore its environment erratically and may follow the walls of the starting pen.
It is important that, during its exploration, the chick cannot get out of the pen or get stuck in the various installations.
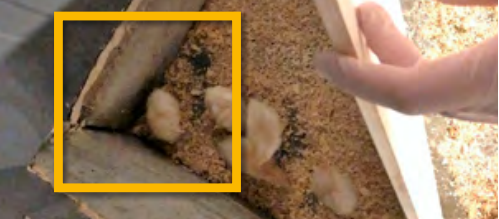
Figure 61: The area around the pen should be checked regularly to avoid trapped or lost chicks.
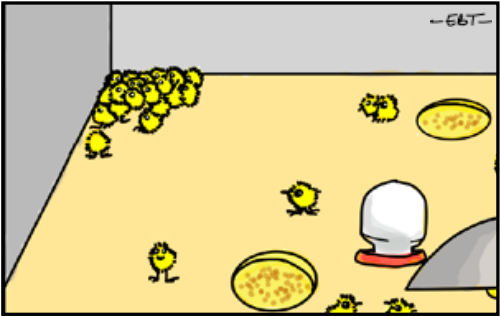
Figure 63: A chick lost in a corner of the building calls its fellow chicks, who in turn come and get lost. In this way, they are not fed or watered and can also cool themselves away from the radiators.
The walls of the pen should be rounded so that the chick does not find itself blocked in a corner. Once alone, the chick calls by chirping and this attracts the other chicks. These chicks remain huddled together as they are gregarious by instinct and no longer leave to find feed and drink.
On the 8th day the barriers of the living area can be removed to allow the chick to discover the entire building. This can be done progressively, by initially enlarging the living area and then, two days later, by removing the pen completely.
Similarly, at about 8 days, a progressive move is made from the starting equipment to the rearing equipment in order to ensure that the animals have time to adapt.
Litter
Most of the heat exchanges with the exterior is done by the feet of the chick. It is very important to control the floor temperature and therefore the temperature of the litter properly.
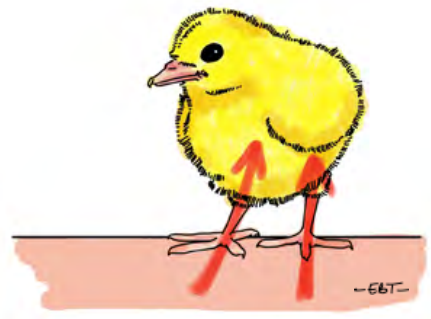
Figure 65: On a warm litter the chick keeps warm.
Litter should be thin (1cm is enough) and flat to not bother the chick to explore its environment.
Such thin litter is optimal for good starting but requires preparation.
We recommend preheating at 20°C from 72 hours before the chicks are received. The radiant heaters should be turned on at a moderate heat to increase the temperature of the building progressively, and they should be lowered to heat the concrete in depth whilst avoiding condensation under the litter.
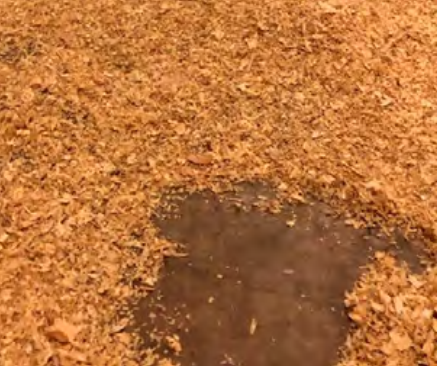
Figure 67: The litter does not need to be thicker than 1cm if the concrete is properly heated in advance.
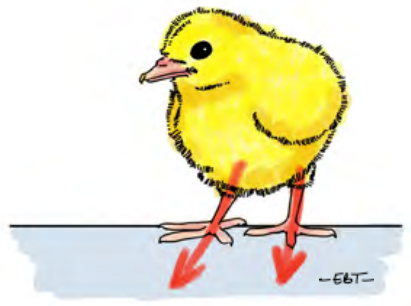
Figure 66: On a cold litter the chick cools down by losing heat through its legs.
Furthermore this makes it possible to facilitate drying of the disinfectant (the building should also be well ventilated).
The litter may be of wood chips, rice husks, by-products of various plants, etc.
It is important for the litter to be absorbent and non-abrasive so as not to injure the chickens or irritate the foot pads.
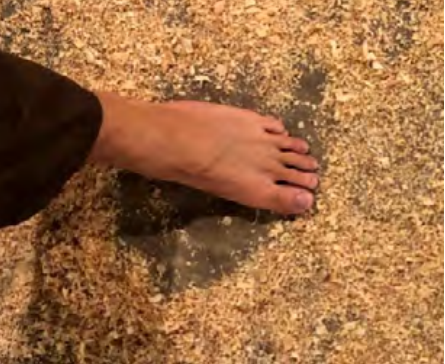
Figure 68: Before the chicks arrive, the temperature of the litter should be checked. If you feel the ground is cold, the chicks will feel it too.